Tag Archives: biscuits

Review: Loveless Cafe’

Back last summer, David brought me some moonshine from Arkansas. It came out of an actual still and not the shelf at the liquor store. He brought me some corn and some rice moonshine. I have no idea which is which but they do smell different.

They scare me.

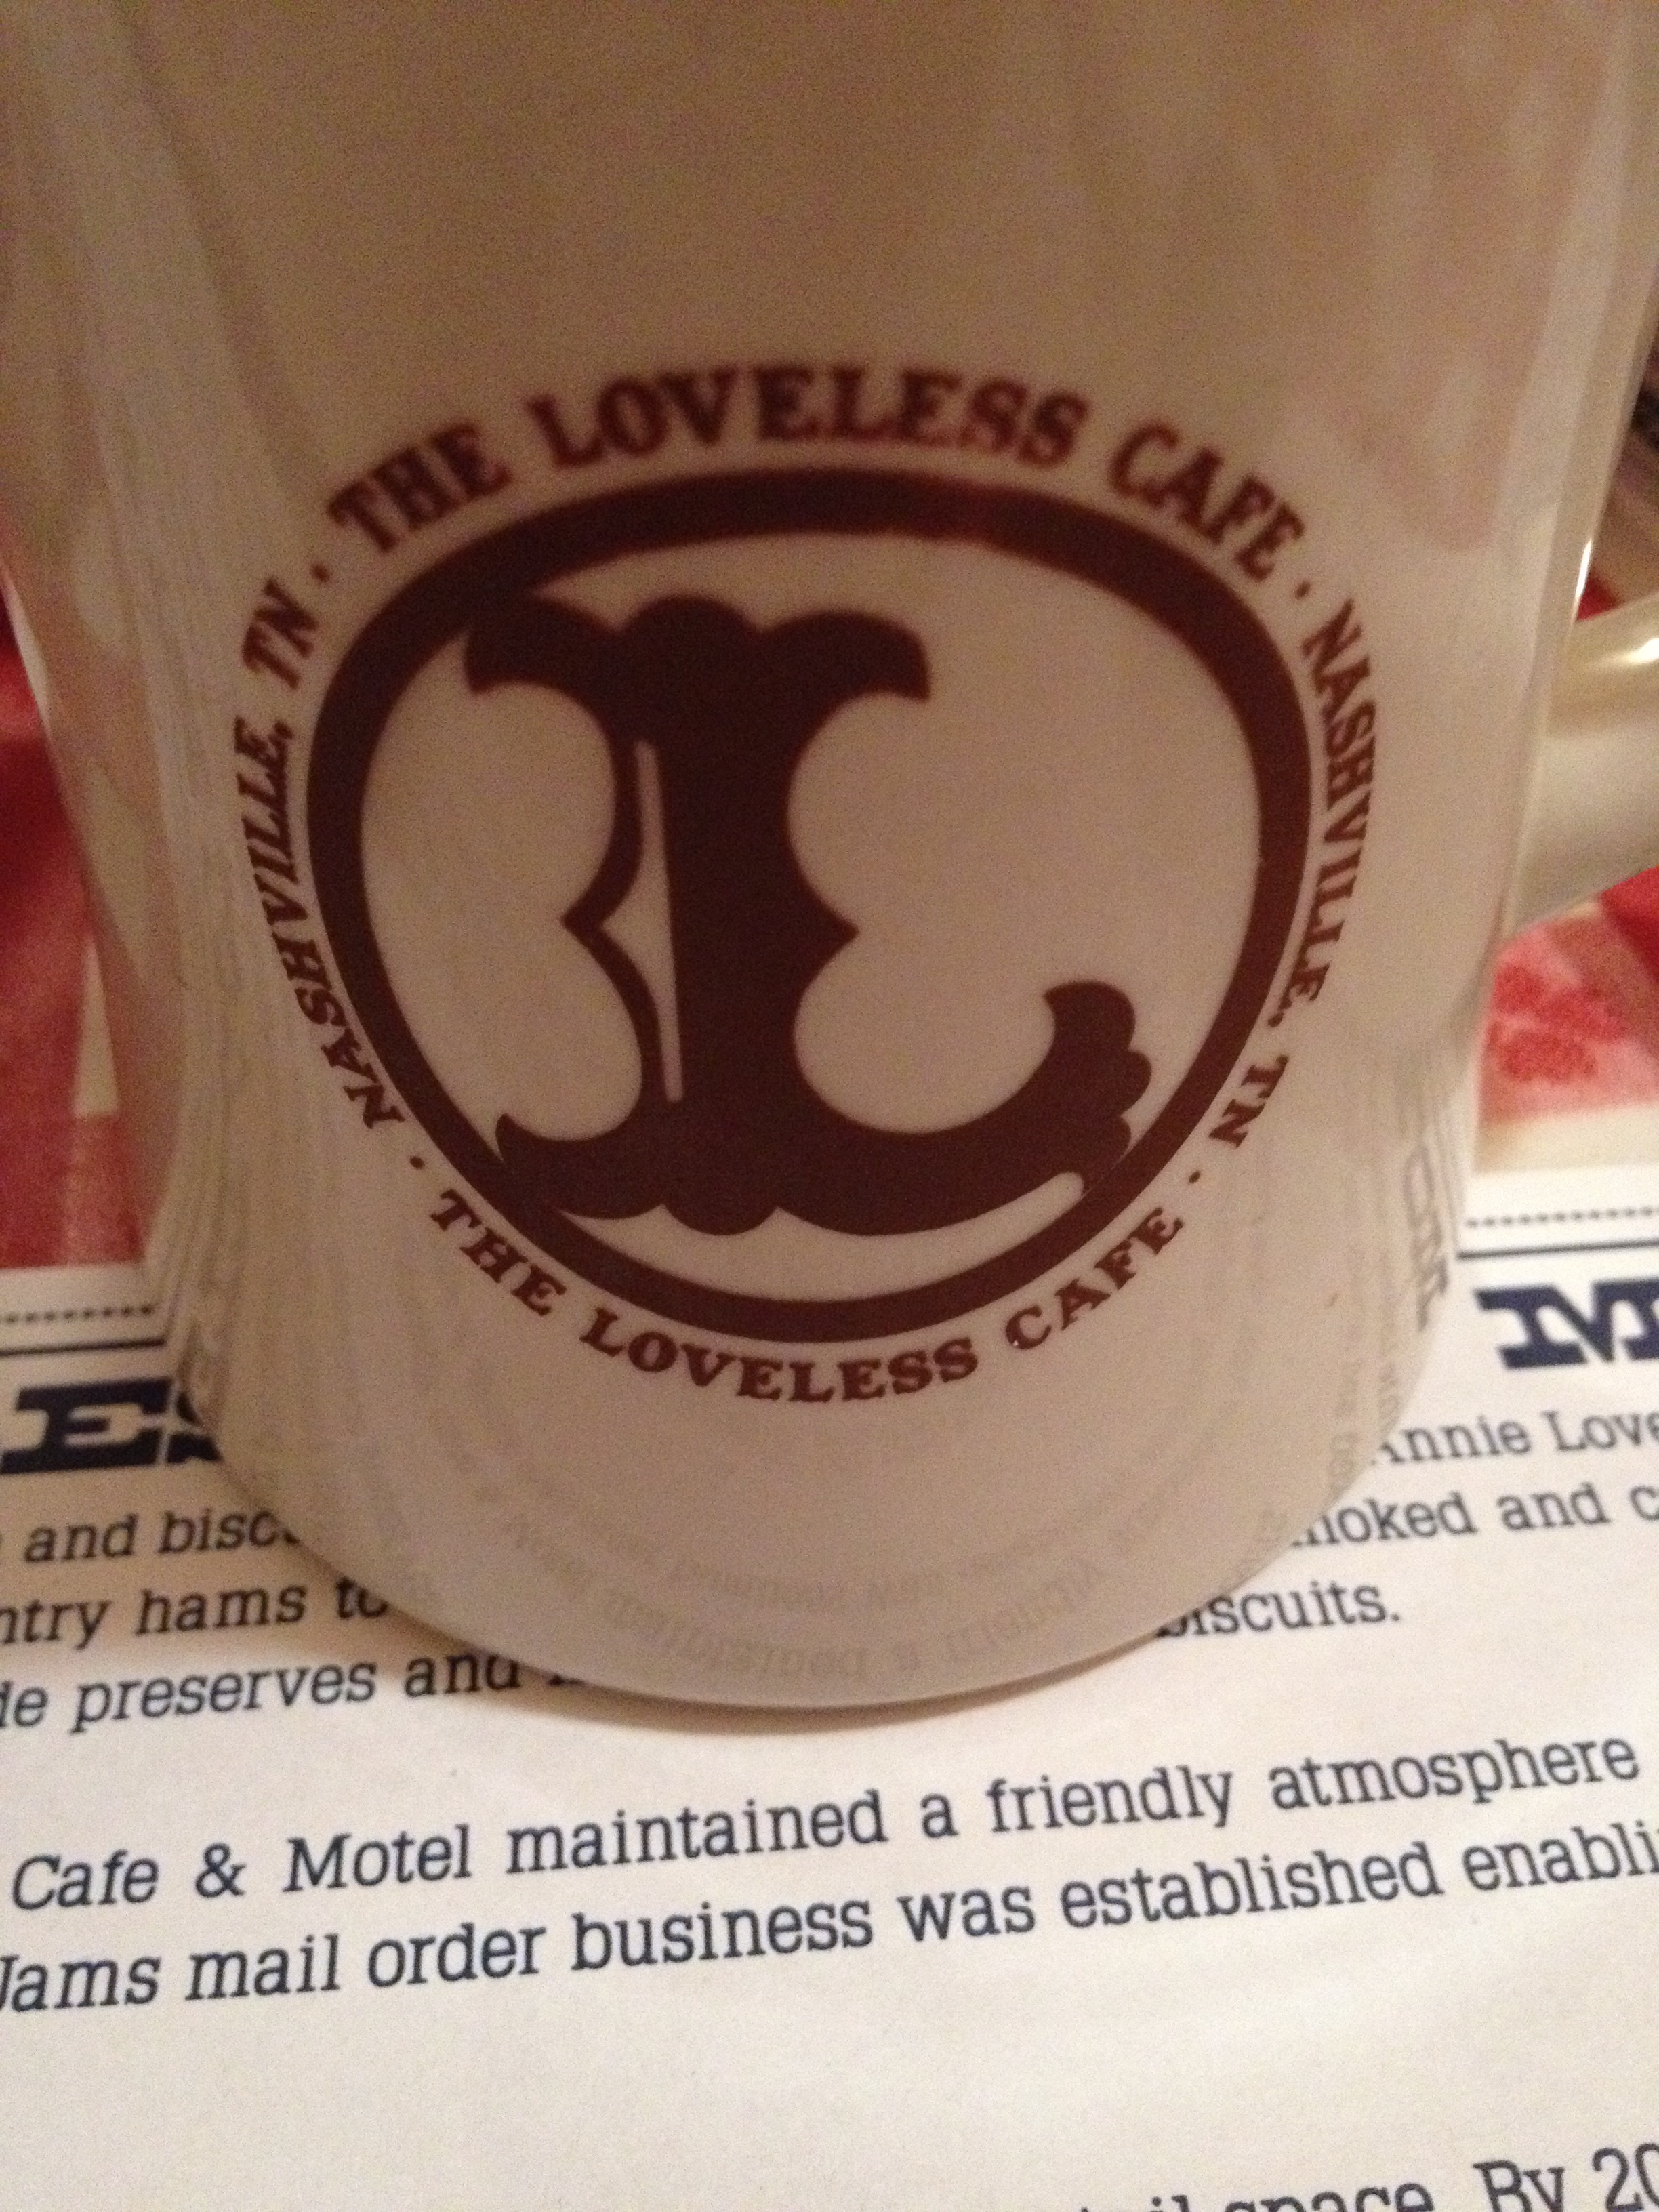
So I started an internet search to see what I could do with moonshine. I was clearly not going to drink it in its native state. This is when I stumbled upon the Loveless Cafe’s website. And began my obsession to go there and eat.

Loveless Cafe

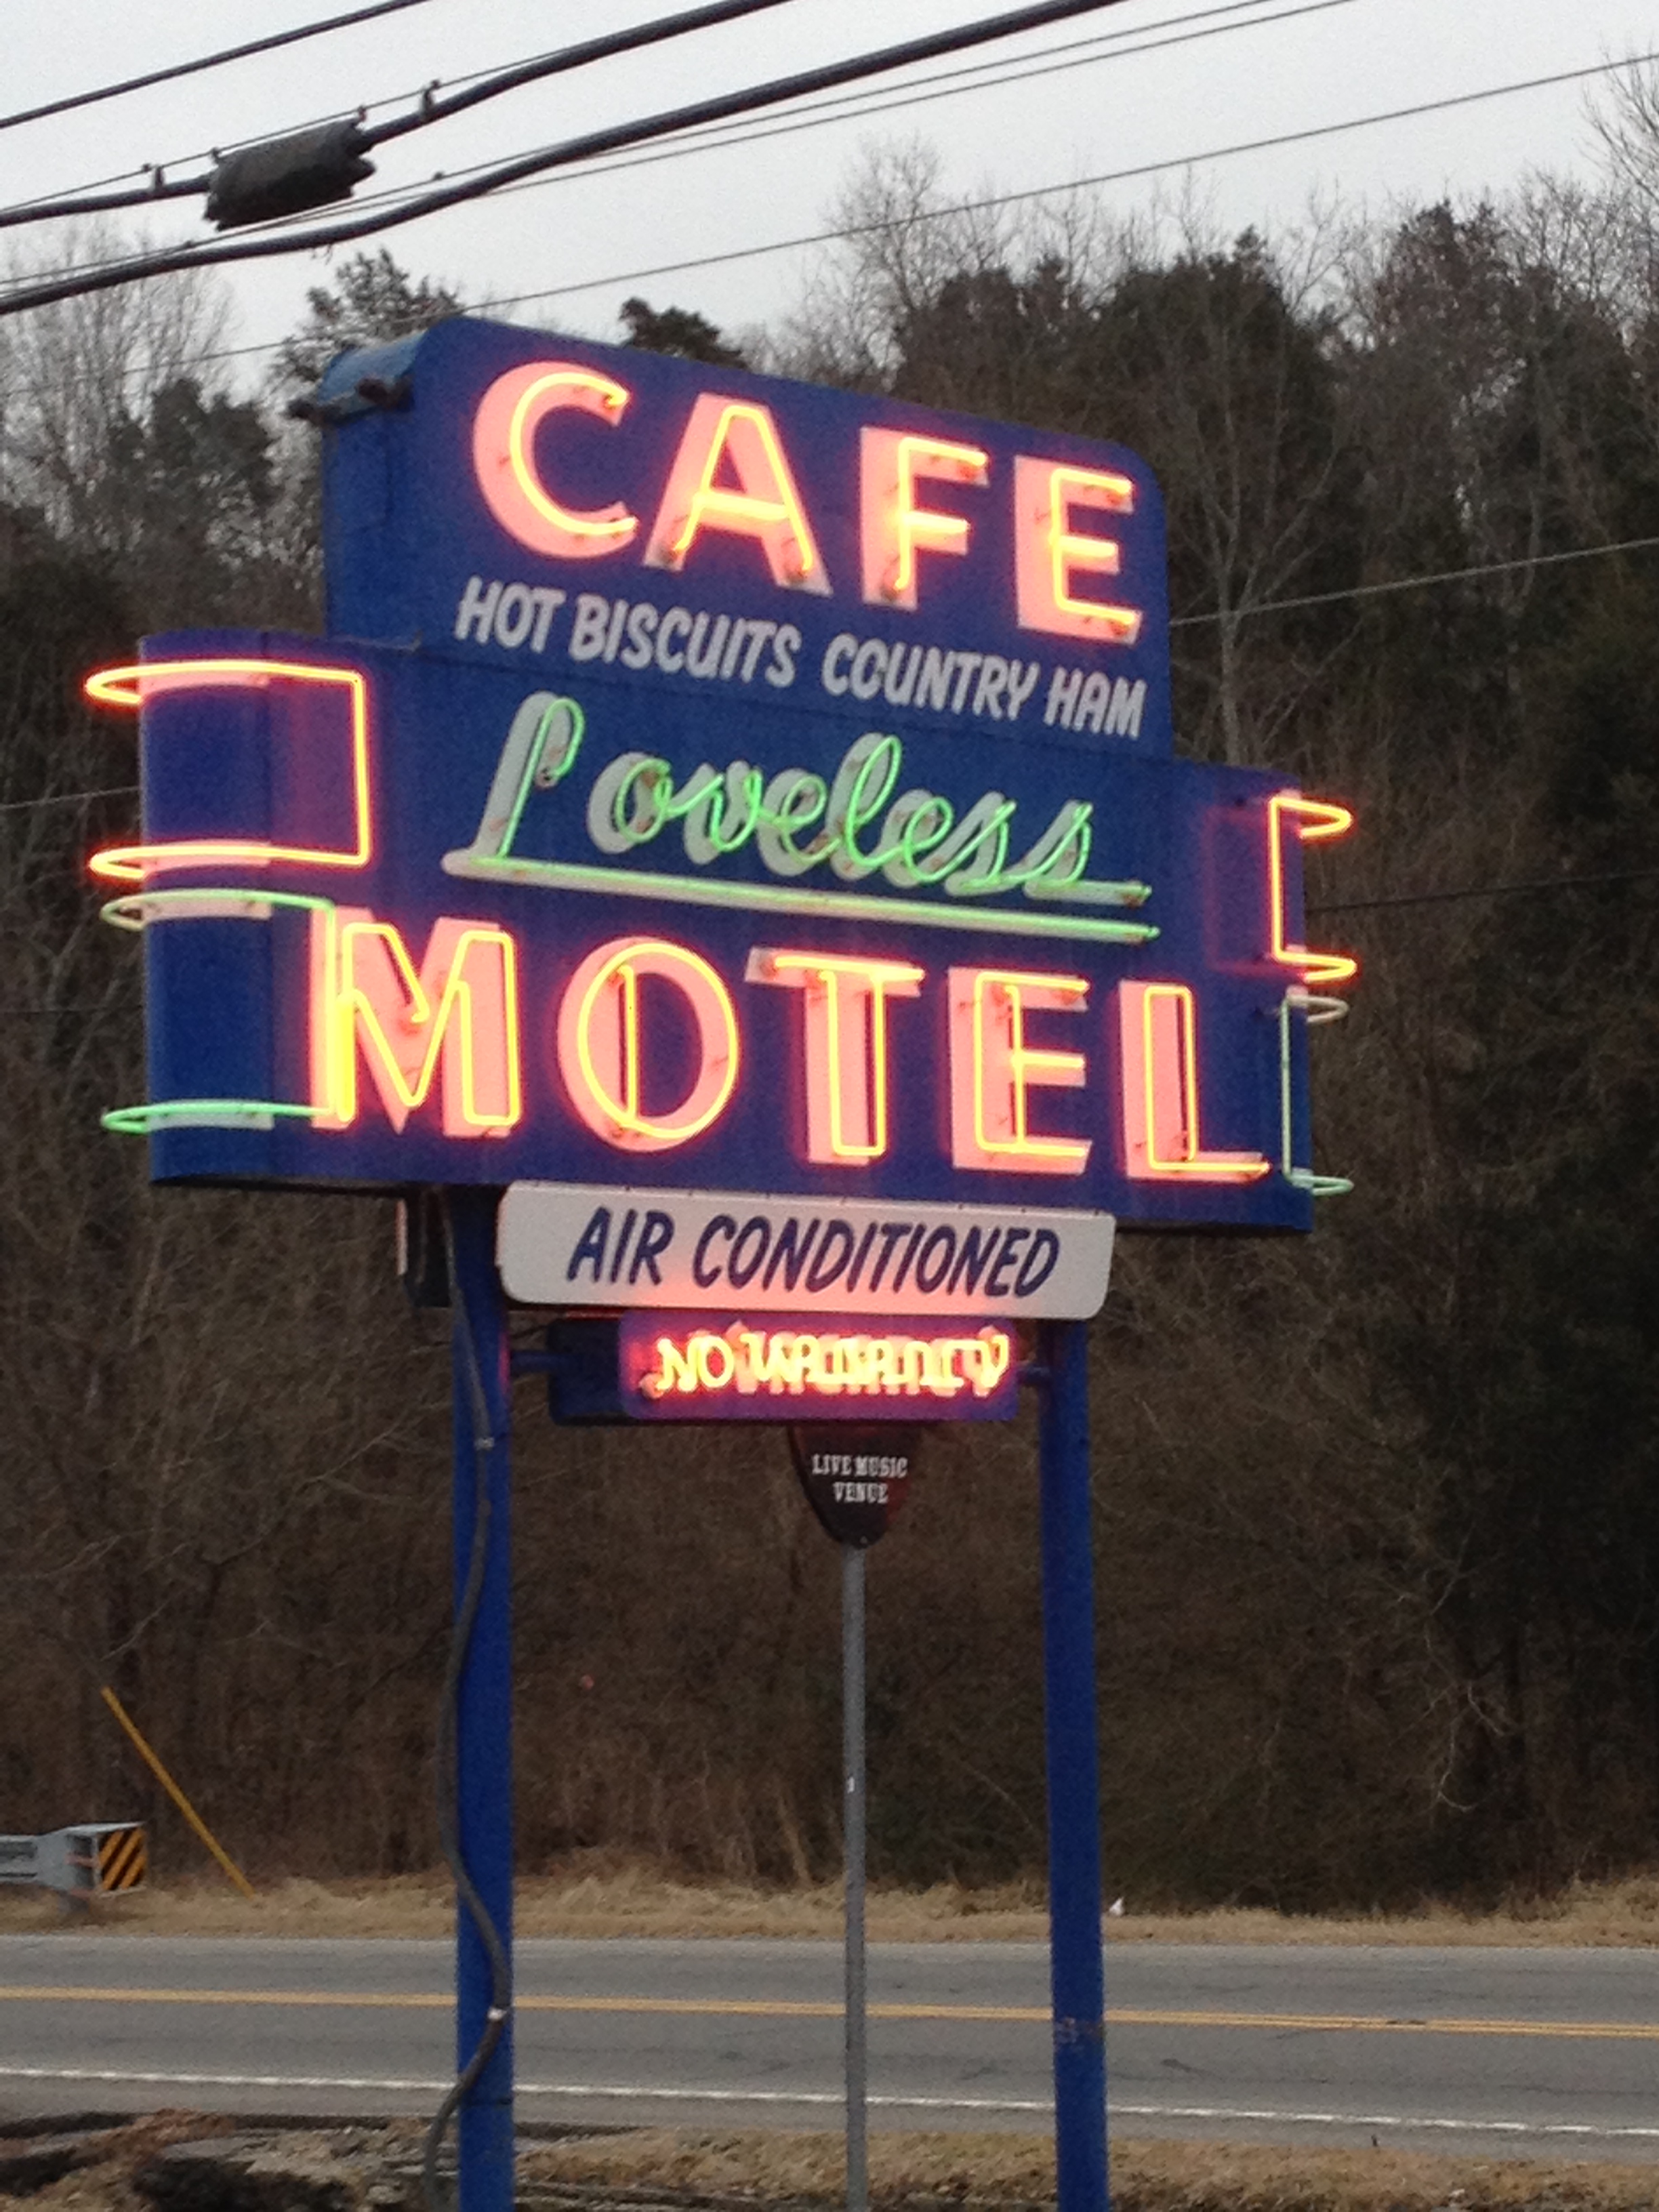
We drove down to Florida last Friday. The most direct path to get there is through Birmingham, AL. But…if we took a slightly longer way, via Nashville, we could put the Loveless Cafe’ in our plans and that’s what we did.

Yesterday, we got up early enough to get there when the Cafe’ opened at 7 a.m. I had read reports of having to wait three hours for a table and I knew that David wouldn’t be okay with that. Plus, we are early risers so 7:00 is a little late for us to eat breakfast anyway.

coffee at Loveless

We were the first people there. No waiting! šŸ™‚

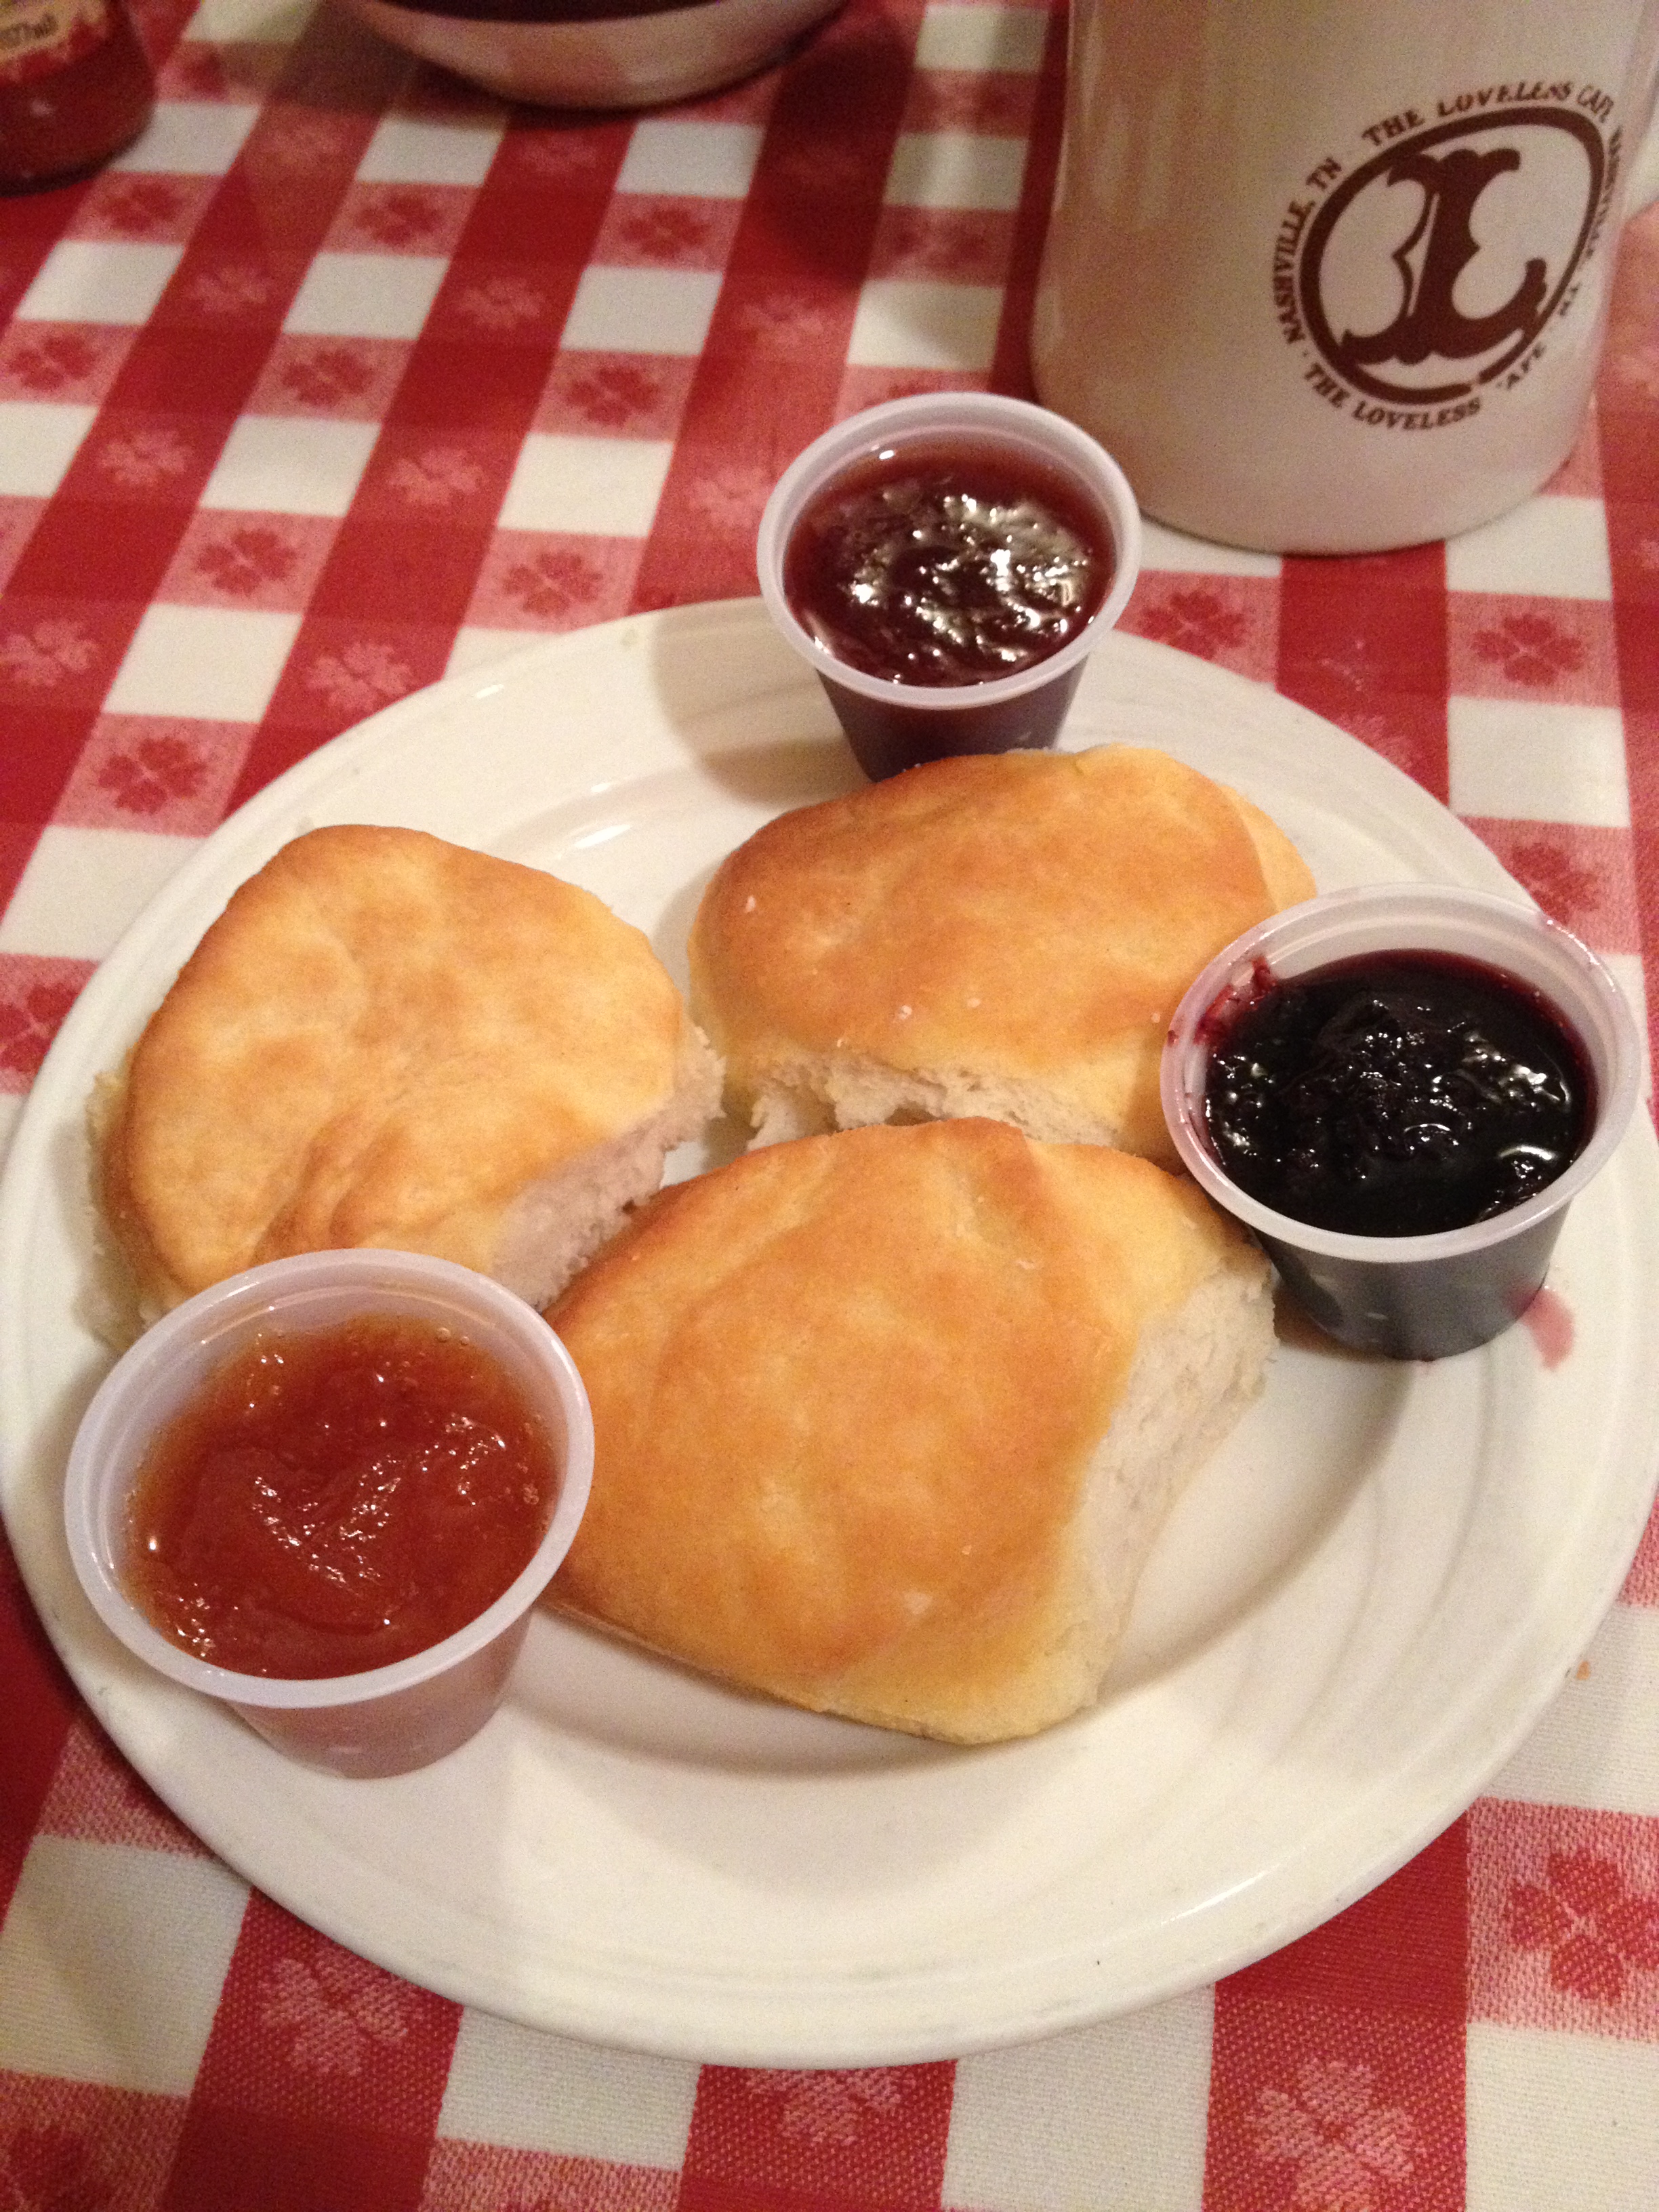
We knew we were going to have biscuits because that’s what they are known for. But everything else involved heavy deliberation. After looking forward to this meal for so long, I didn’t want to make a mistake.

We placed our orders and the server brought us biscuits and jam. I ate my first biscuit with the strawberry jam which was amazing. And I ate my second biscuit with the peach. I was so afraid it would be orange even though we were so near peach country but it was yummy peach.

biscuits

Then our food arrived. I had decided on a BBQ Pulled Pork Omelet. This was the BIGGEST omelet I have ever been served and it was delicious! It had SO much meat in it and it was so good. I ate every last bite of it because I could.

bbq pulled pork omelet

Along with my omelet, I had two more biscuits. I put the rest of the peach jam on one half and then took the third jam and put it on the other half. I wasn’t quite sure what kind it was. When I tasted it, I could not believe it but it was the very best of the three! The server told me it was blackberry jam. Let me tell you, if I had eaten that one first? I would have changed my order, ordered the 12 biscuits from the ala carte menu and that alone would have been my breakfast. And I would have eaten all of them with that out-of-this-world blackberry jam. Yum!

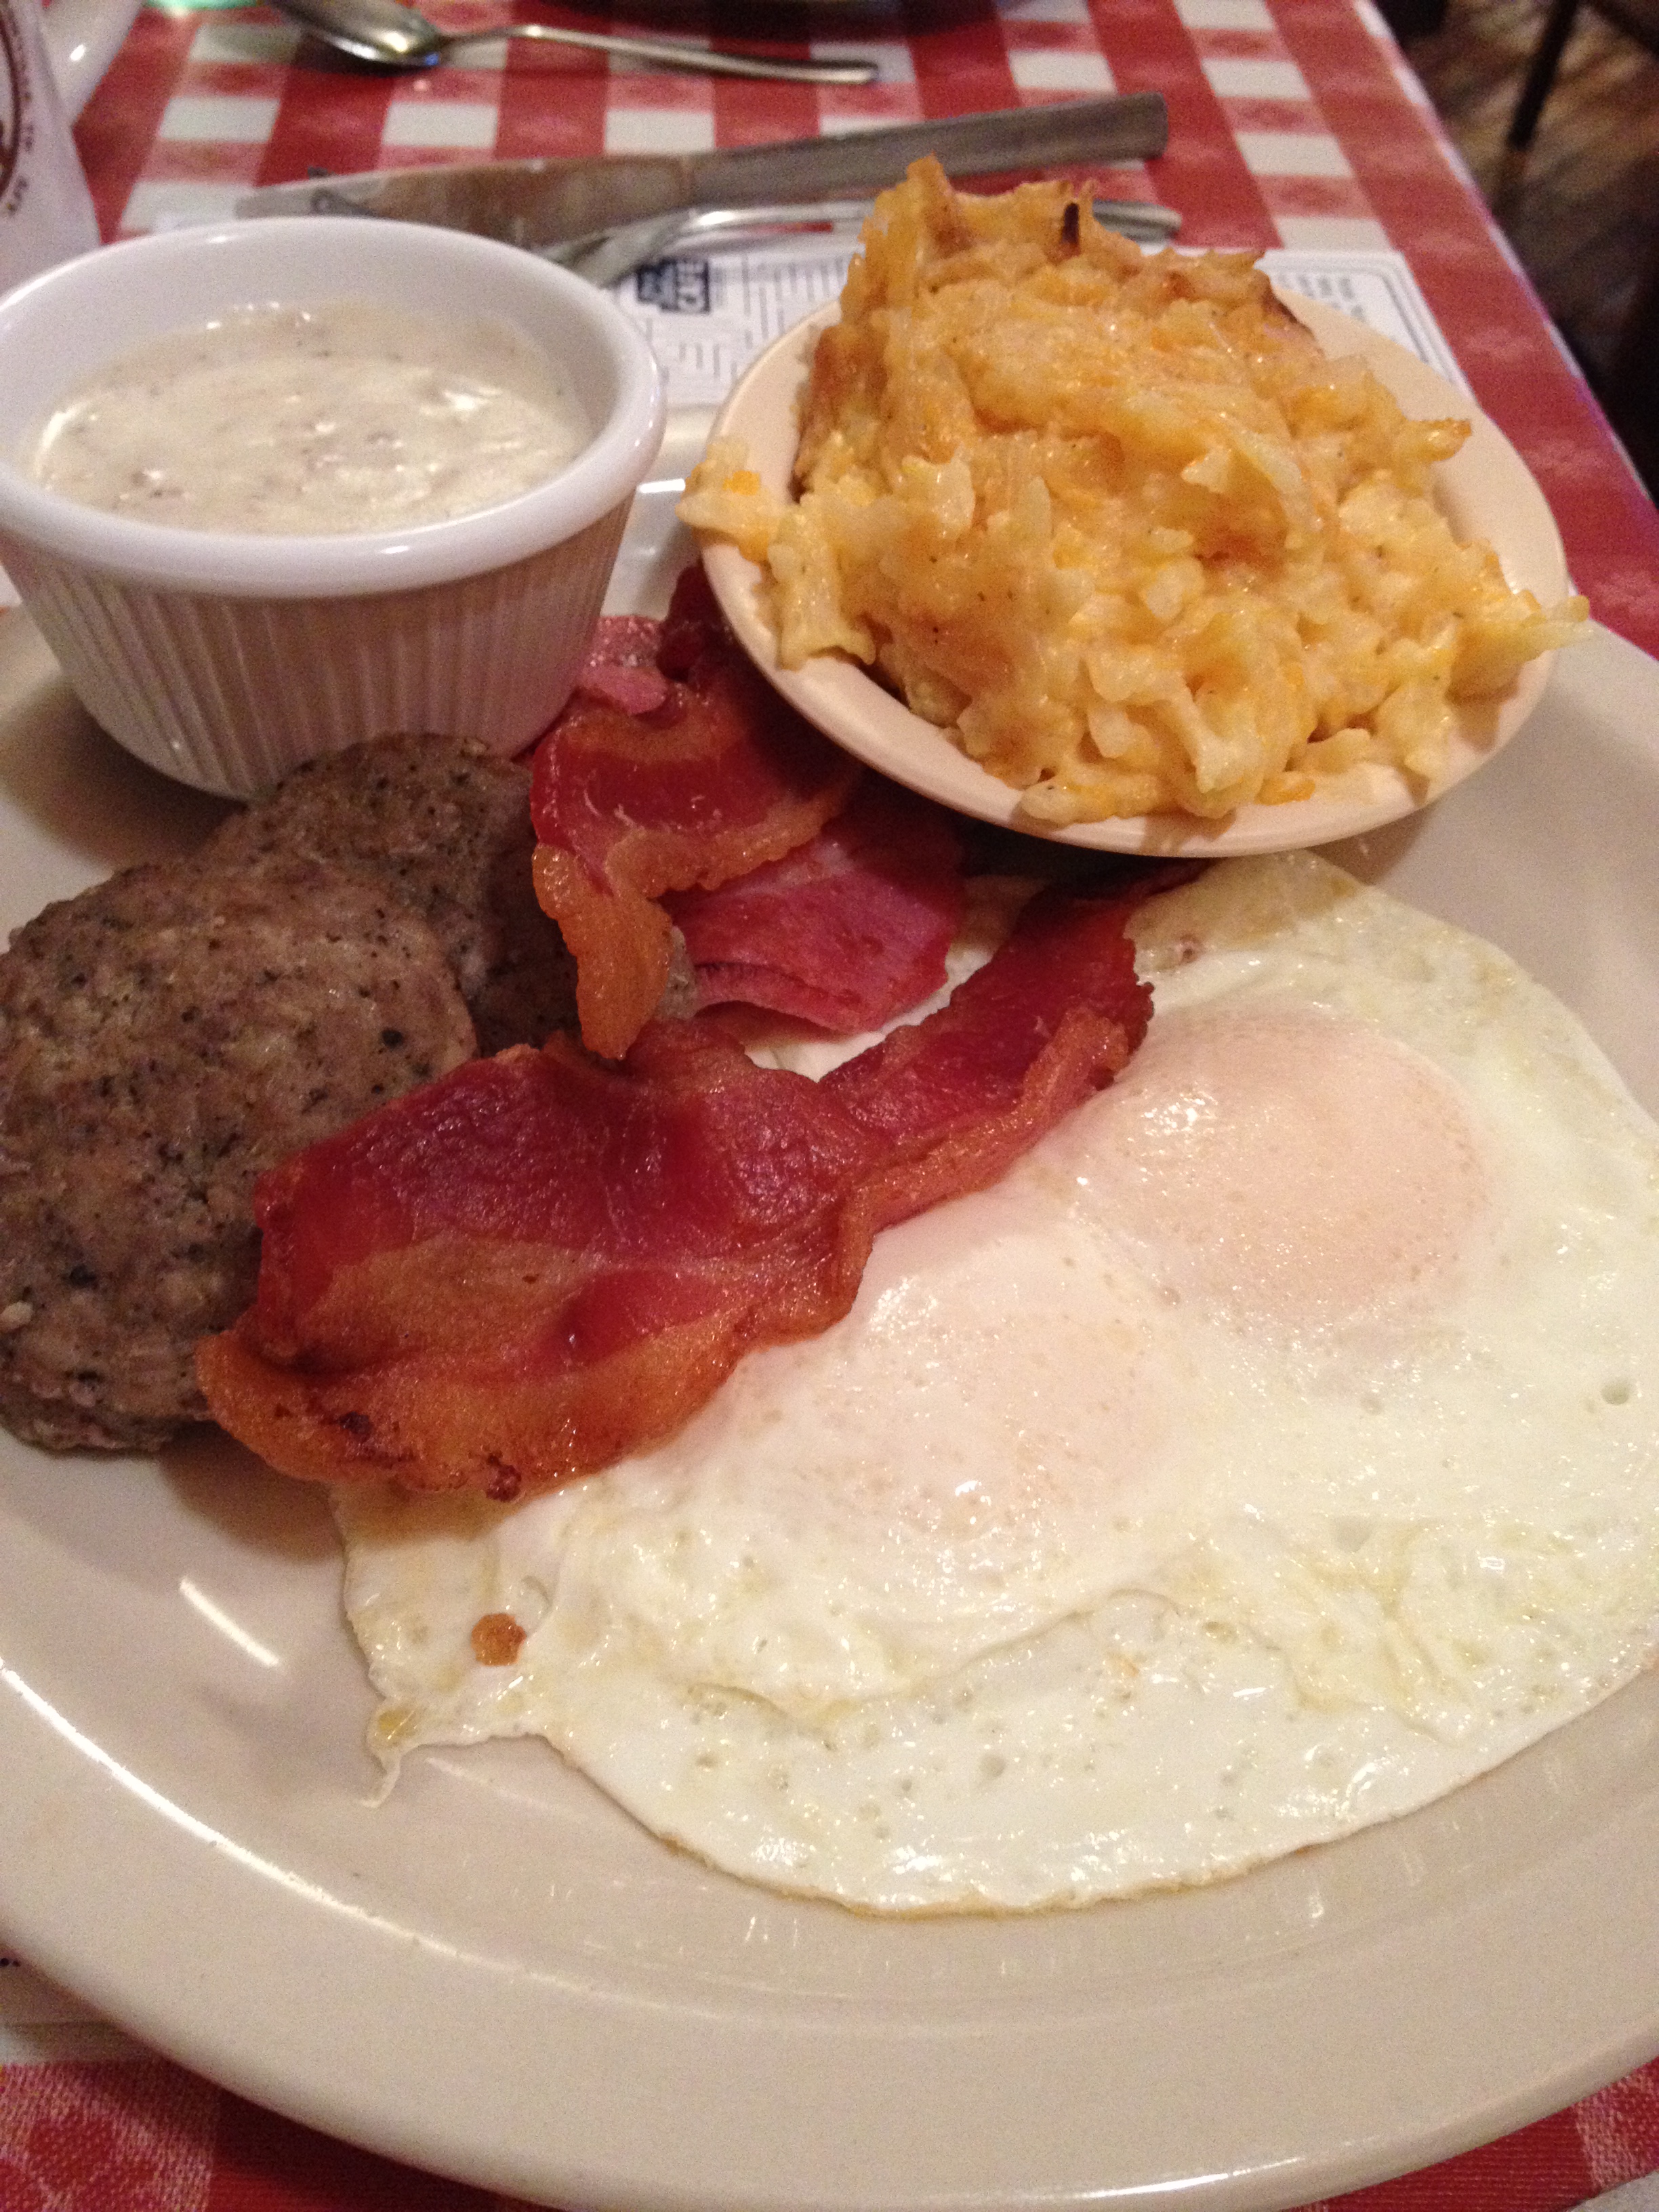
I took a photo of David’s breakfast because it was really more photogenic than mine. He got the Southern Sampler Breakfast. It was supposed to come with Redeye gravy but they didn’t have any ready so he got standard gravy for his biscuits which he was quite happy with.

southern sampler

I’m so glad we made the detour to eat breakfast at the Loveless Cafe’. I can’t wait to go back for cocktails! šŸ™‚

Daring Bakers Challenge: Basic Scones a.k.a. Basic Biscuits

Audax Artifex was our January 2012 Daring Bakersā€™ host. Aud worked tirelessly to master light and fluffy scones (a/k/a biscuits) to help us create delicious and perfect batches in our own kitchens!

I can’t remember how I stumbled upon the Daring Baker’s website. I think it was probably via Pinterest since that’s how so much of what I do starts anymore.

Anyway, my immediate thought was, “I want to be a daring baker!”.

So I signed up and waited, rather impatiently for January 1st and the new challenge to be released.

I was excited to see that it was Basic SconesĀ or Basic Biscuits as we know them here in Oklahoma.

We have had our share of biscuits over the years but guess what? I’m not the biscuit maker! David is. So this was my chance to give it a whirl.

It was really easy to do and I was thrilled with the way they turned out. I think it took longer for me to read through the extended challenge instructions than it took for me to have fourĀ deliciousĀ biscuits steaming on a plate.

I did follow the instructions to achieve a layered effect by folding the dough over on itself several times. I also rested the dough in the refrigerator for about 10 minutes while the oven was preheating and I rubbed the butter as small as I could get it.

I ended up with beautiful, tall biscuts that were crispy on the outside and super soft on the inside. Delicious!

Here’s the recipe:

Basic Scones (a.k.a. Basic Biscuits)

1 cup (240 ml) (140 gm/5 oz) plain (all purpose) flour

2 teaspoons (10 ml) (10 gm) (1/3 oz) fresh baking powder

1/4 tsp (1 1/4 ml) (1 1/2 gm) salt

2 tablespoons (30 gm/ 1 oz) frozen grated butter (or a combination of lard/butter)

Approximately 1/2 cup (120 ml) cold milk

Optional 1 tablespoon milk, for glazing the tops of the scones

Directions

1. Preheat oven to very hot 475Ā°F/240Ā°C/gas mark 9.

2. Triple sift the dry ingredients into a large bowl. (If your room temperature is very hot refrigerate the sifted ingredients until cold.)

3. Rub the frozen grated butter (or combination of fats) into the dry ingredients until it resembles very coarse bread crumbs with some pea-sized pieces if you want flaky scones or until it resembles coarse beach sand if you want tender scones.

4. Add nearly all of the liquid at once into the rubbed-in flour/fat mixture and mix until it just forms a sticky dough (add the remaining liquid if needed). The wetter the dough the lighter the scones (biscuits) will be!

5. Turn the dough out onto a lightly floured board, lightly flour the top of the dough. To achieve an even homogeneous crumb to your scones knead very gently about 4 or 5 times (do not press too firmly) the dough until it is smooth. To achieve a layered effect in your scones knead very gently once (do not press too firmly) then fold and turn the kneaded dough about 3 or 4 times until the dough has formed a smooth texture. (Use a floured plastic scraper to help you knead and/or fold and turn the dough if you wish.)

6. Pat or roll out the dough into a 6 inch by 4 inch rectangle by about Ā¾ inch thick (15Ā¼ cm by 10 cm by 2 cm thick). Using a well-floured 2-inch (5 cm) scone cutter (biscuit cutter), stamp out without twisting six 2-inch (5 cm) rounds, gently reform the scraps into another Ā¾ inch (2 cm) layer and cut two more scones (these two scones will not raise as well as the others since the extra handling will slightly toughen the dough). Ā Or use a well-floured sharp knife to form squares or wedges as you desire.

7. Place the rounds just touching on a baking dish if you wish to have soft-sided scones or place the rounds spaced widely apart on the baking dish if you wish to have crisp-sided scones. Glaze the tops with milk if you want a golden colour on your scones or lightly flour if you want a more traditional look to your scones.

8. Bake in the preheated very hot oven for about 10 minutes Ā (check at 8 minutes since home ovens at these high temperatures are very unreliable) until the scones are well risen and are lightly coloured on the tops. The scones are ready when the sides are set.

9. Immediately place onto cooling rack to stop the cooking process, serve while still warm.

This super easy and inexpensive treat will be a greatĀ additionĀ to your table. Now go give it a whirl yourself. šŸ™‚