Tag Archives: diy

Renew Redo: Guest Room Lamp Update

When we moved into this house, there was a pretty solid lamp in one of the extra bedrooms. But it was seriously boring and sad looking.

Boring Lamp

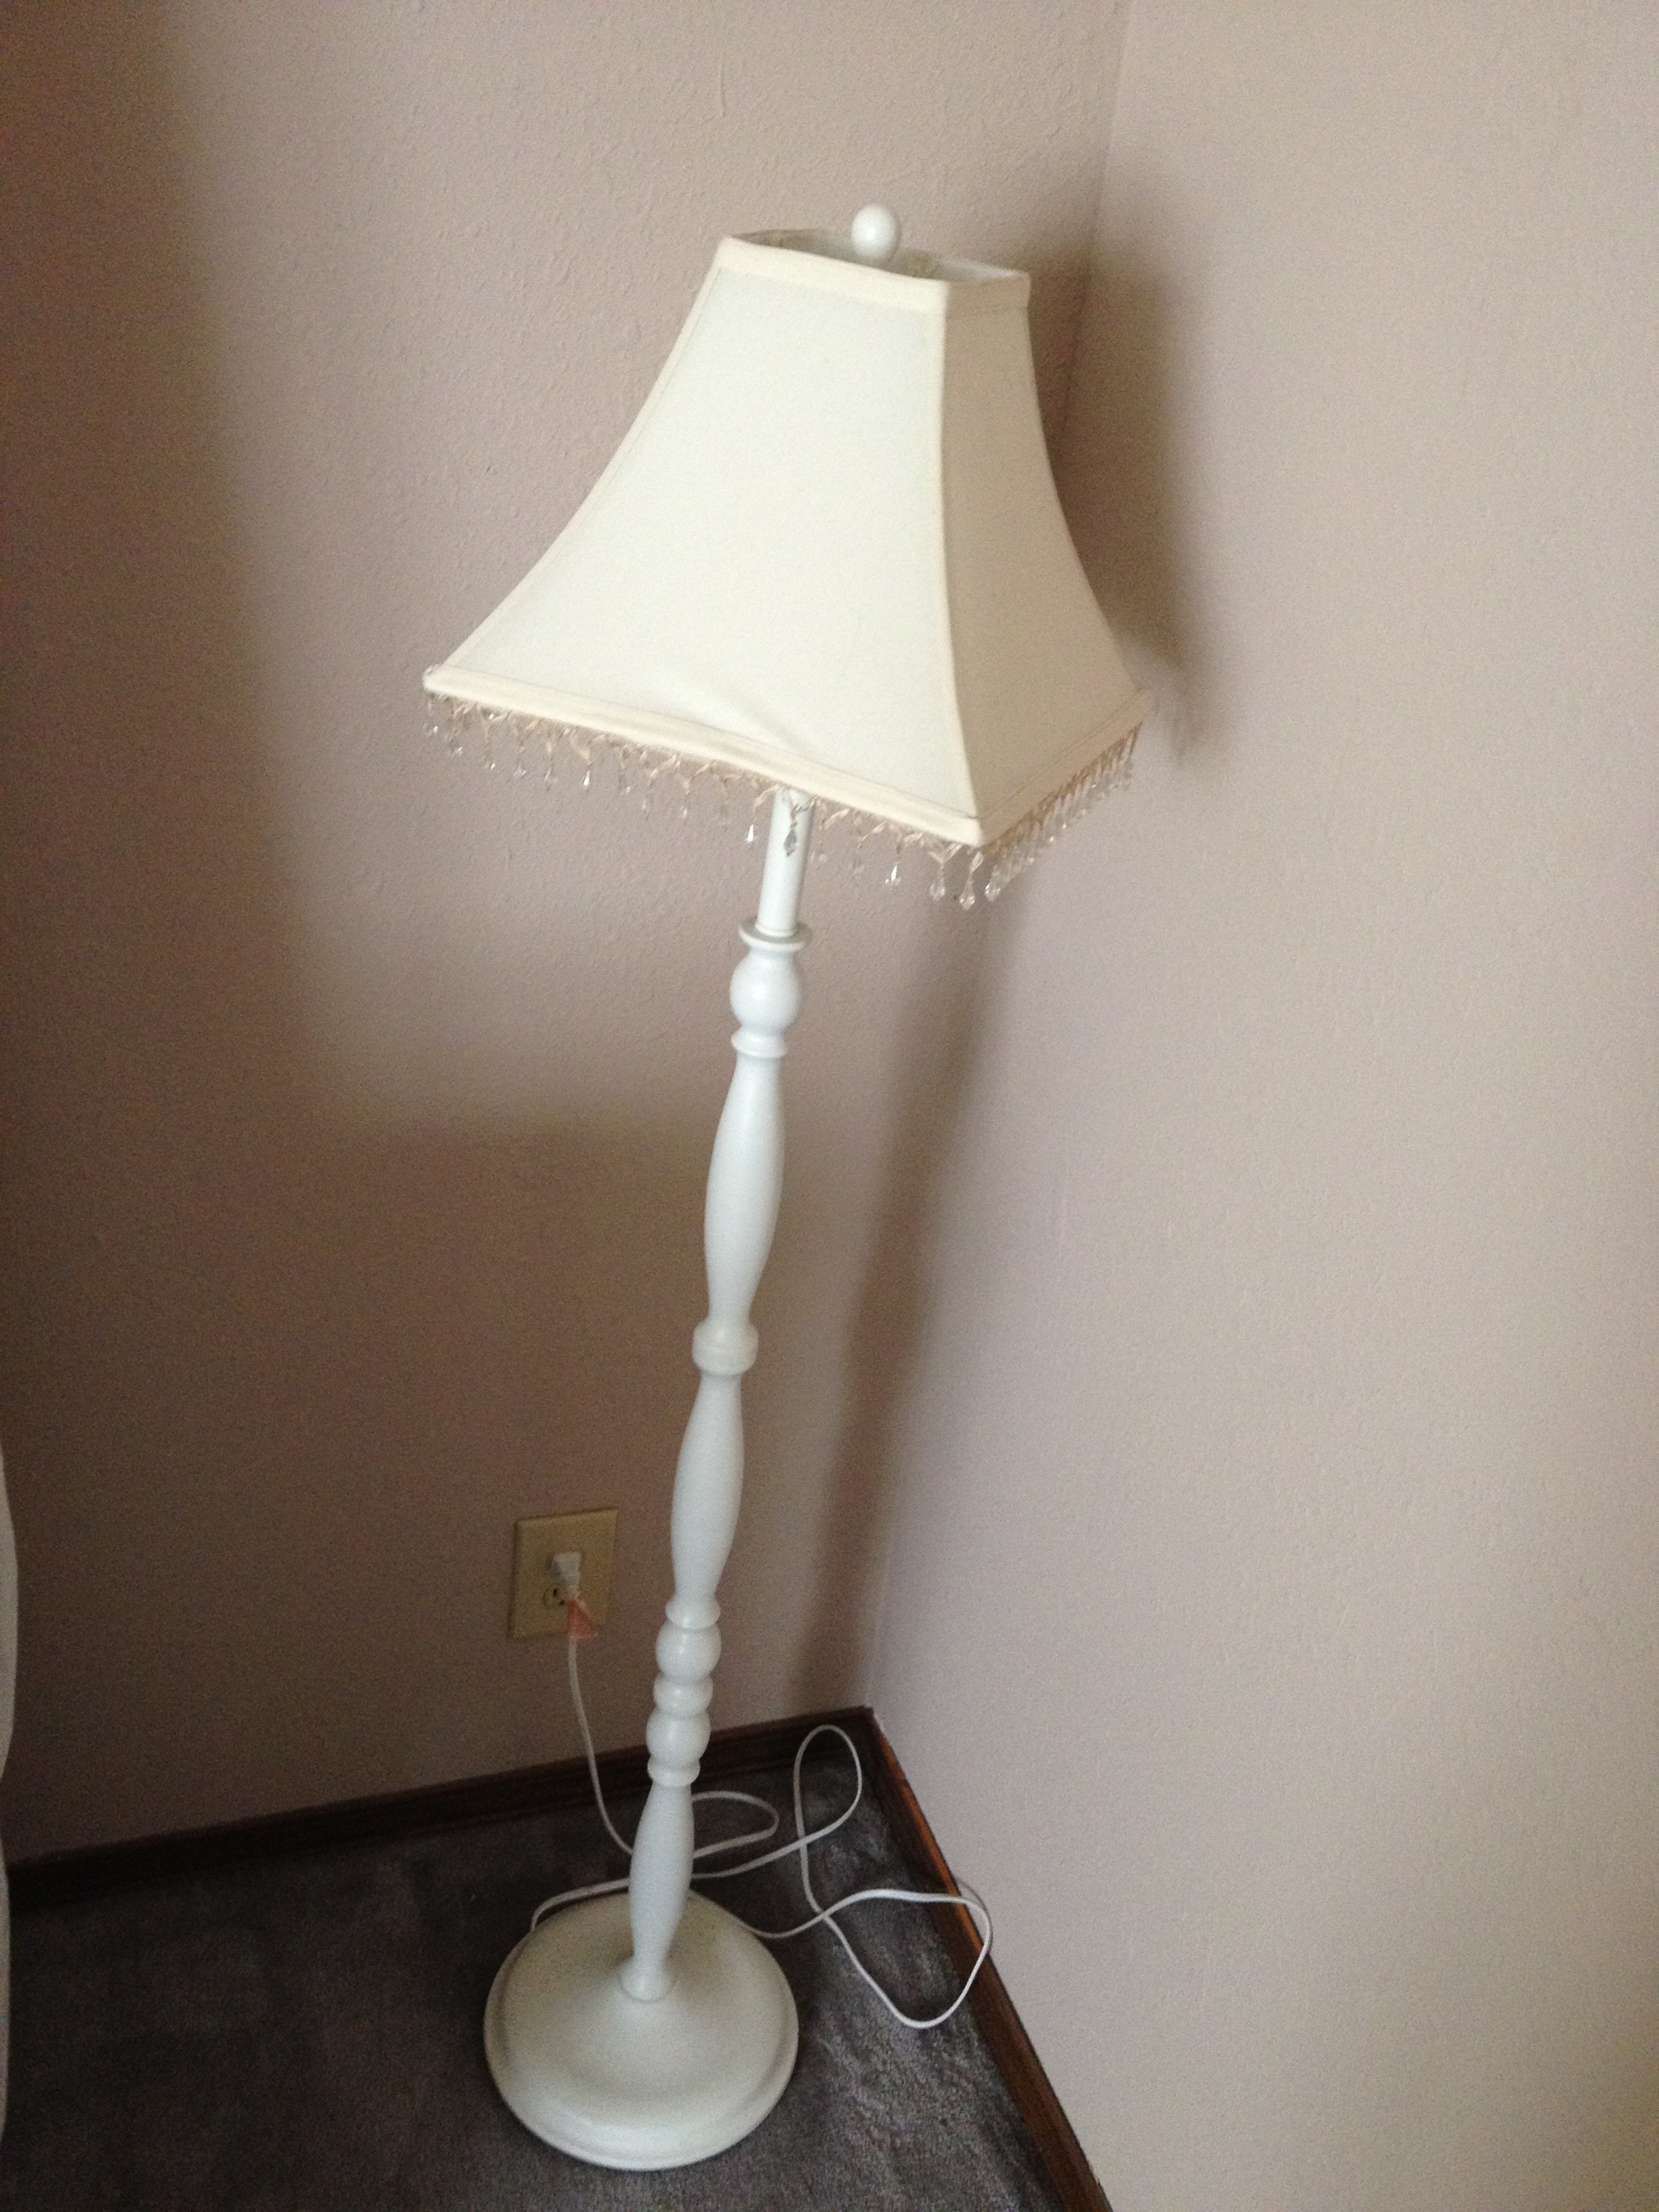
 It had some beading on the lamp shade but it was boring, too. Almost invisible. I felt like that poor lamp was just crying in the corner. 🙁

Beading

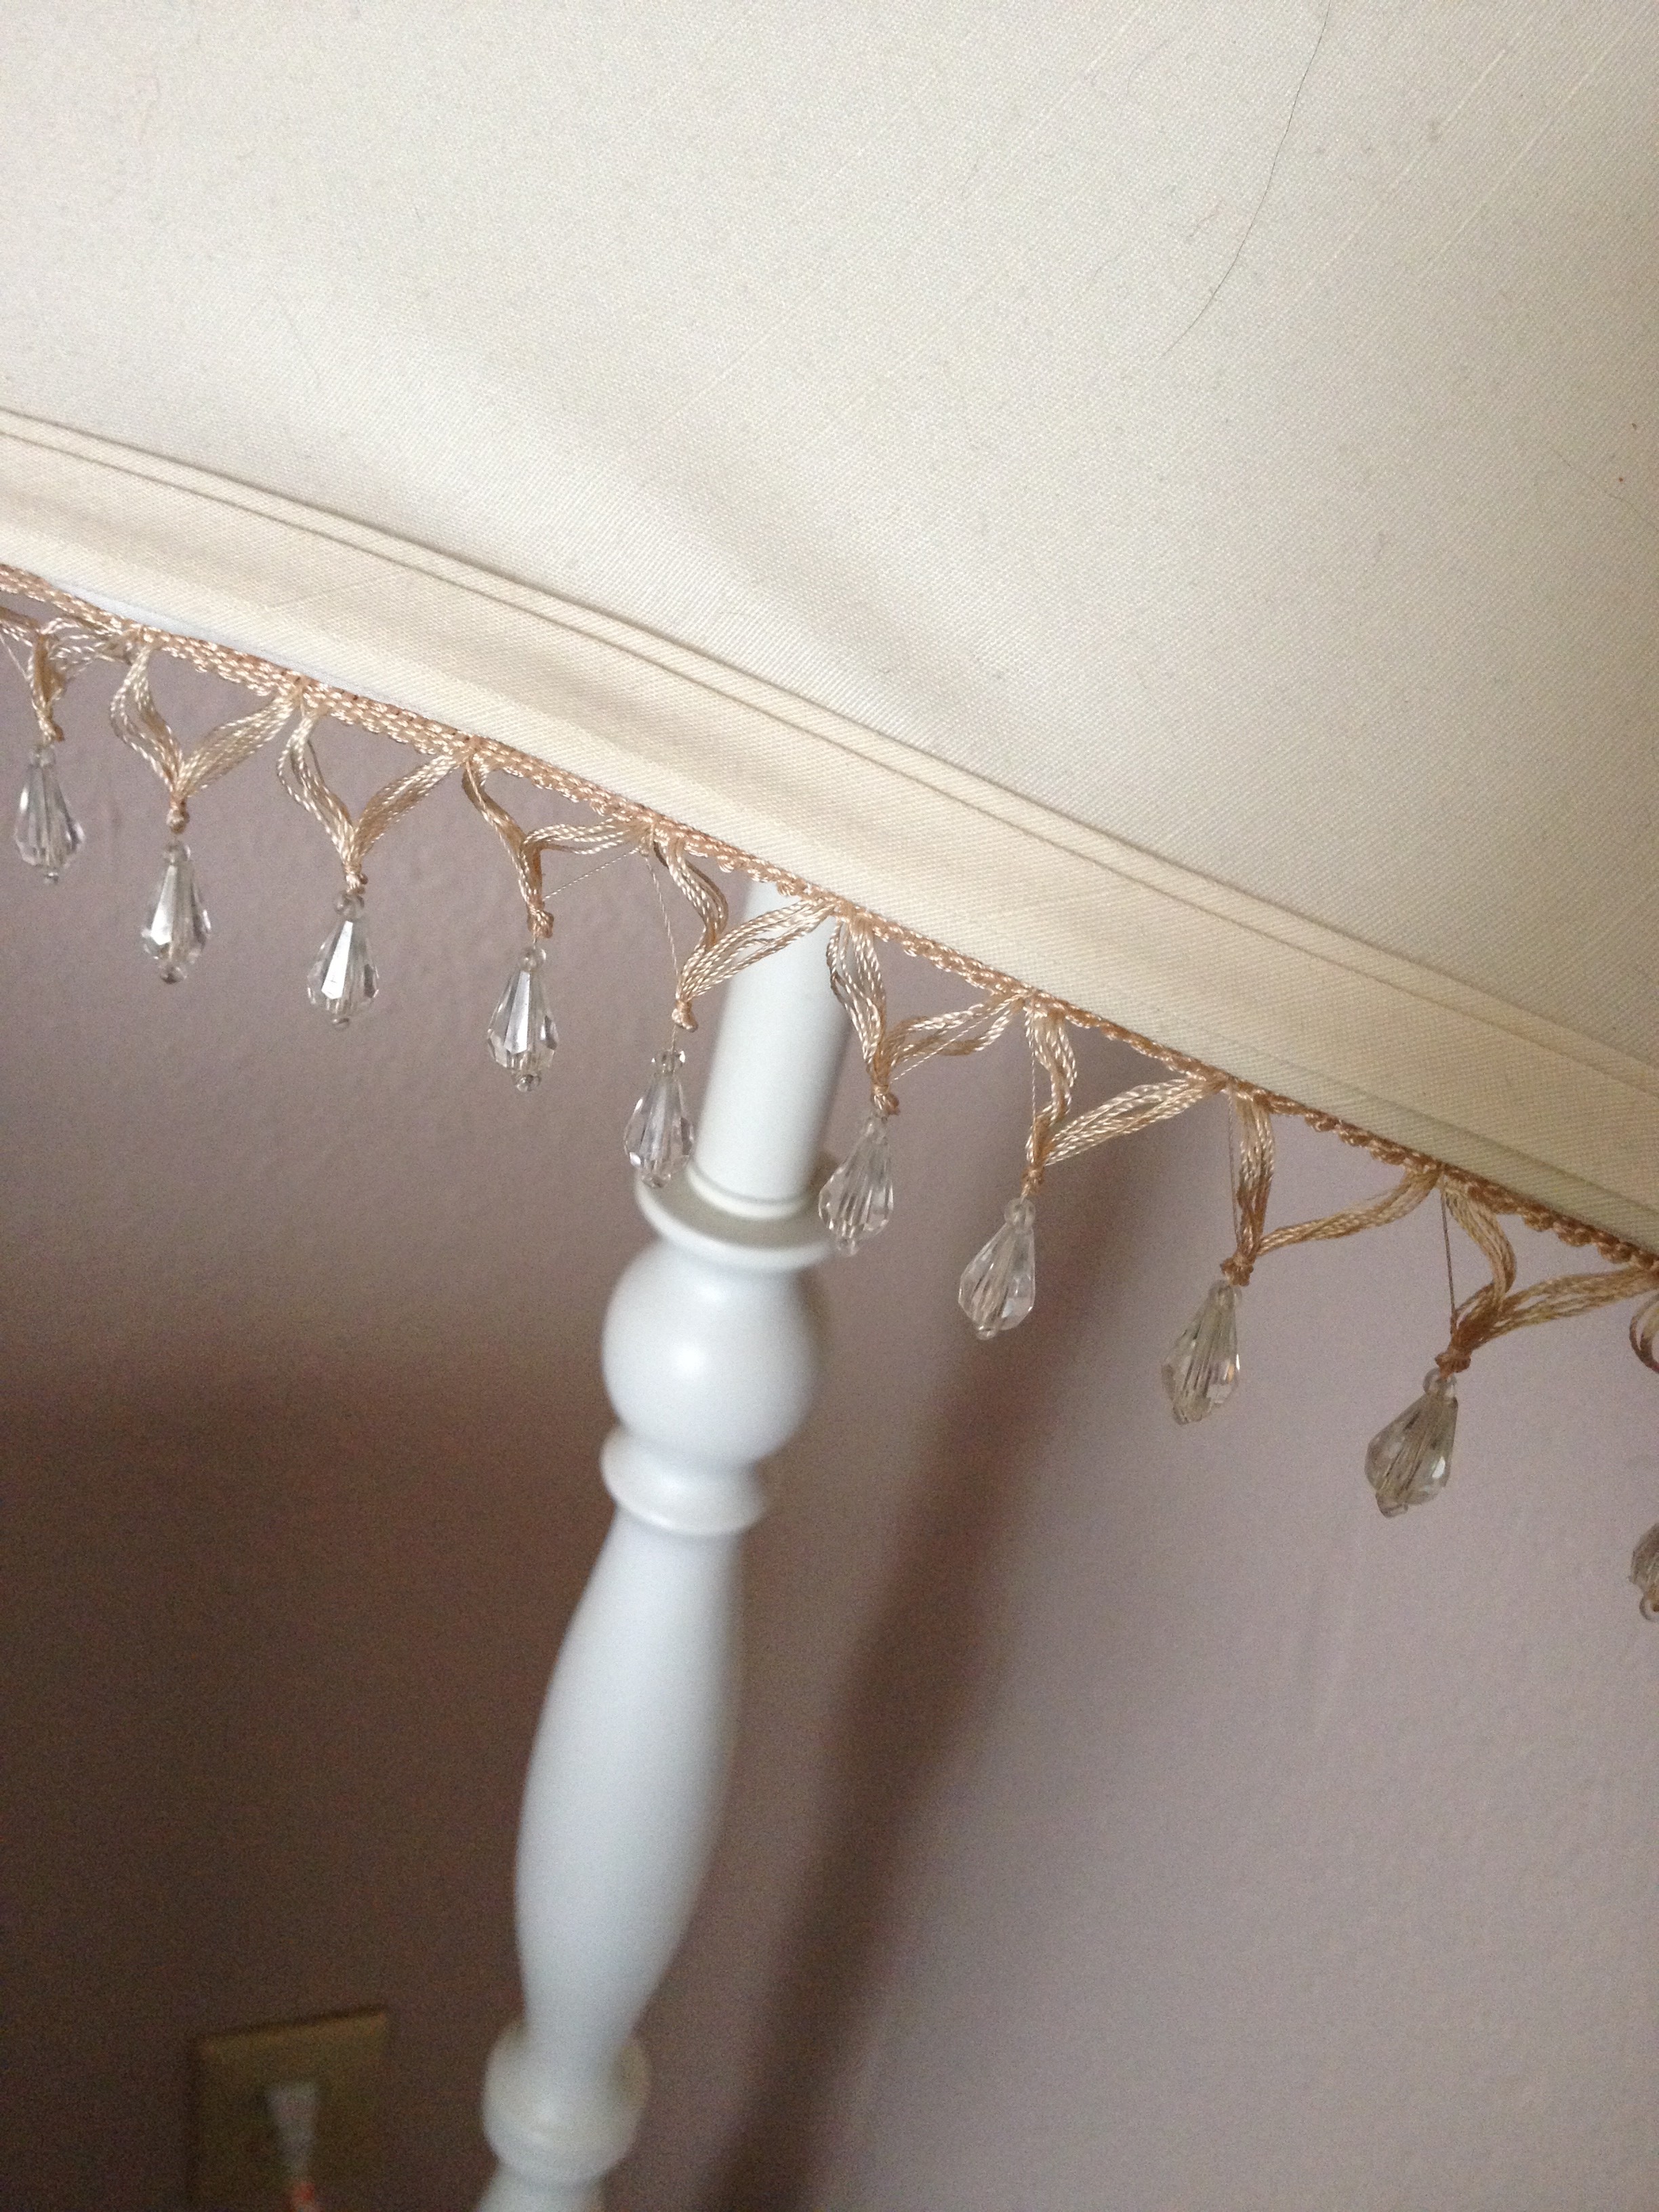
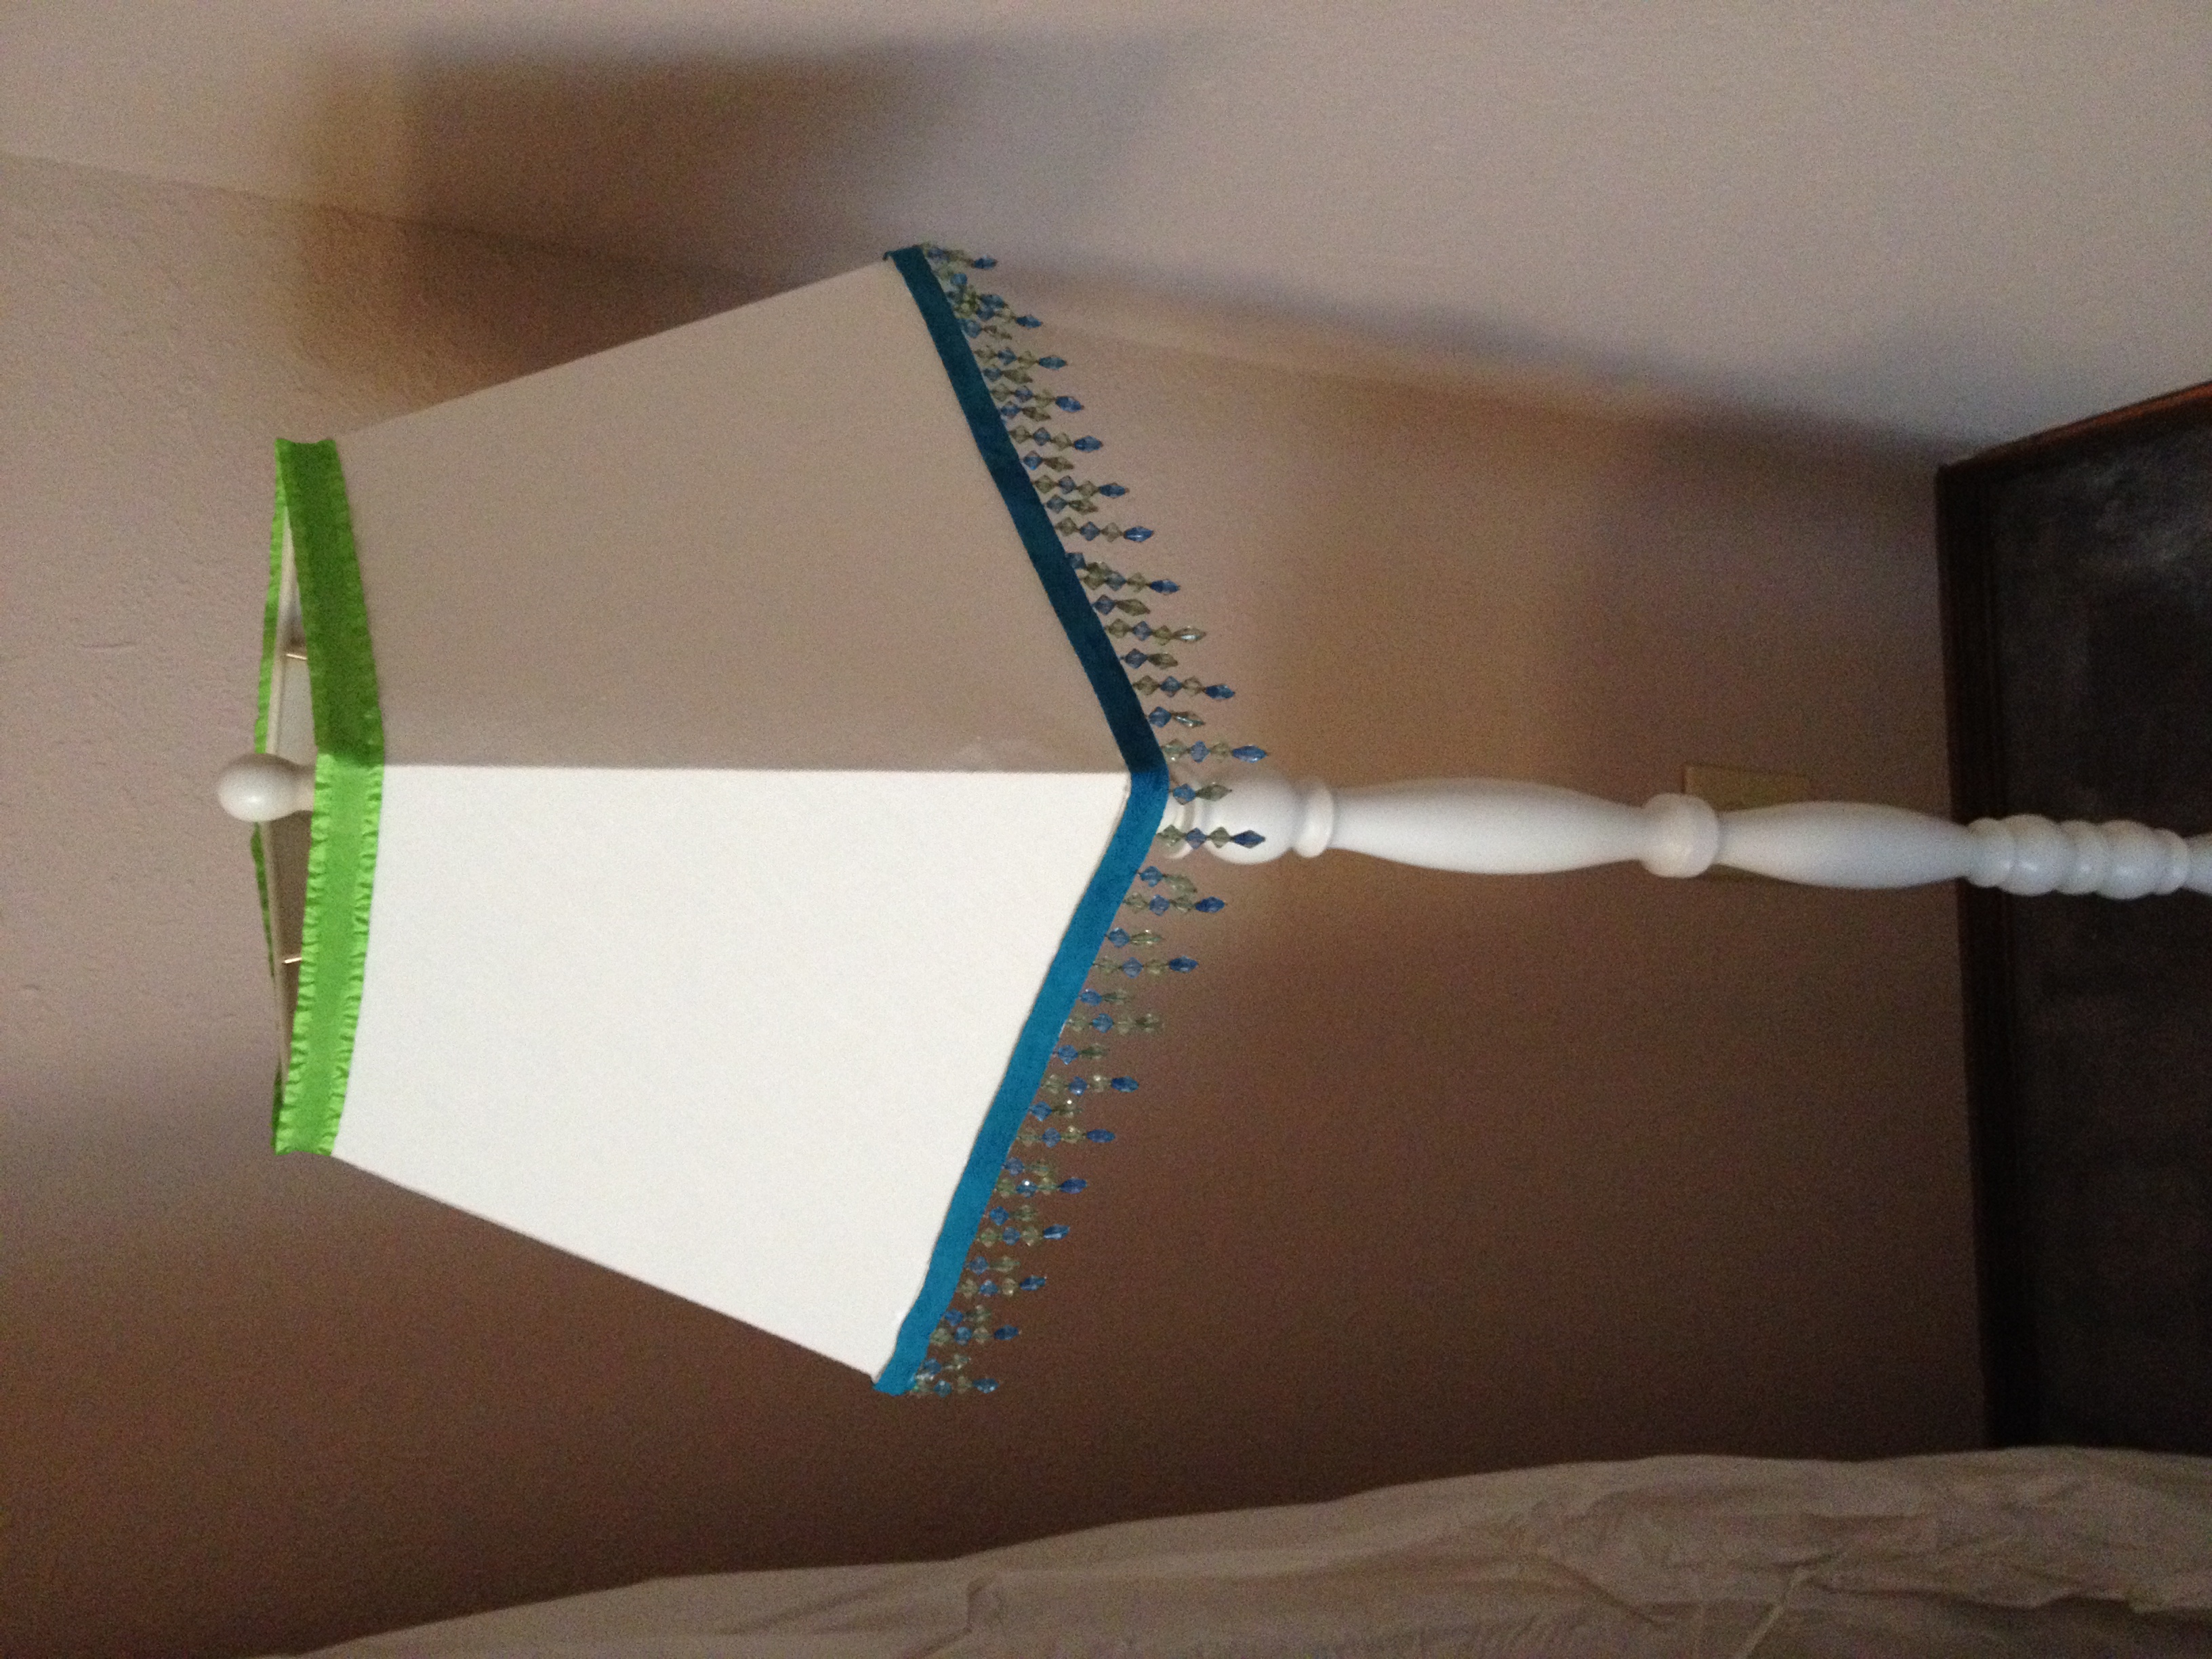
I also felt like the shade was a little small for a lamp of that size. So I set out to find a replacement shade. After a long search, I wasn’t finding anything close to what I wanted. I’m redoing the room in turquoise, green and white. Either the colors weren’t right or the size wasn’t right. So I decided to do it myself.

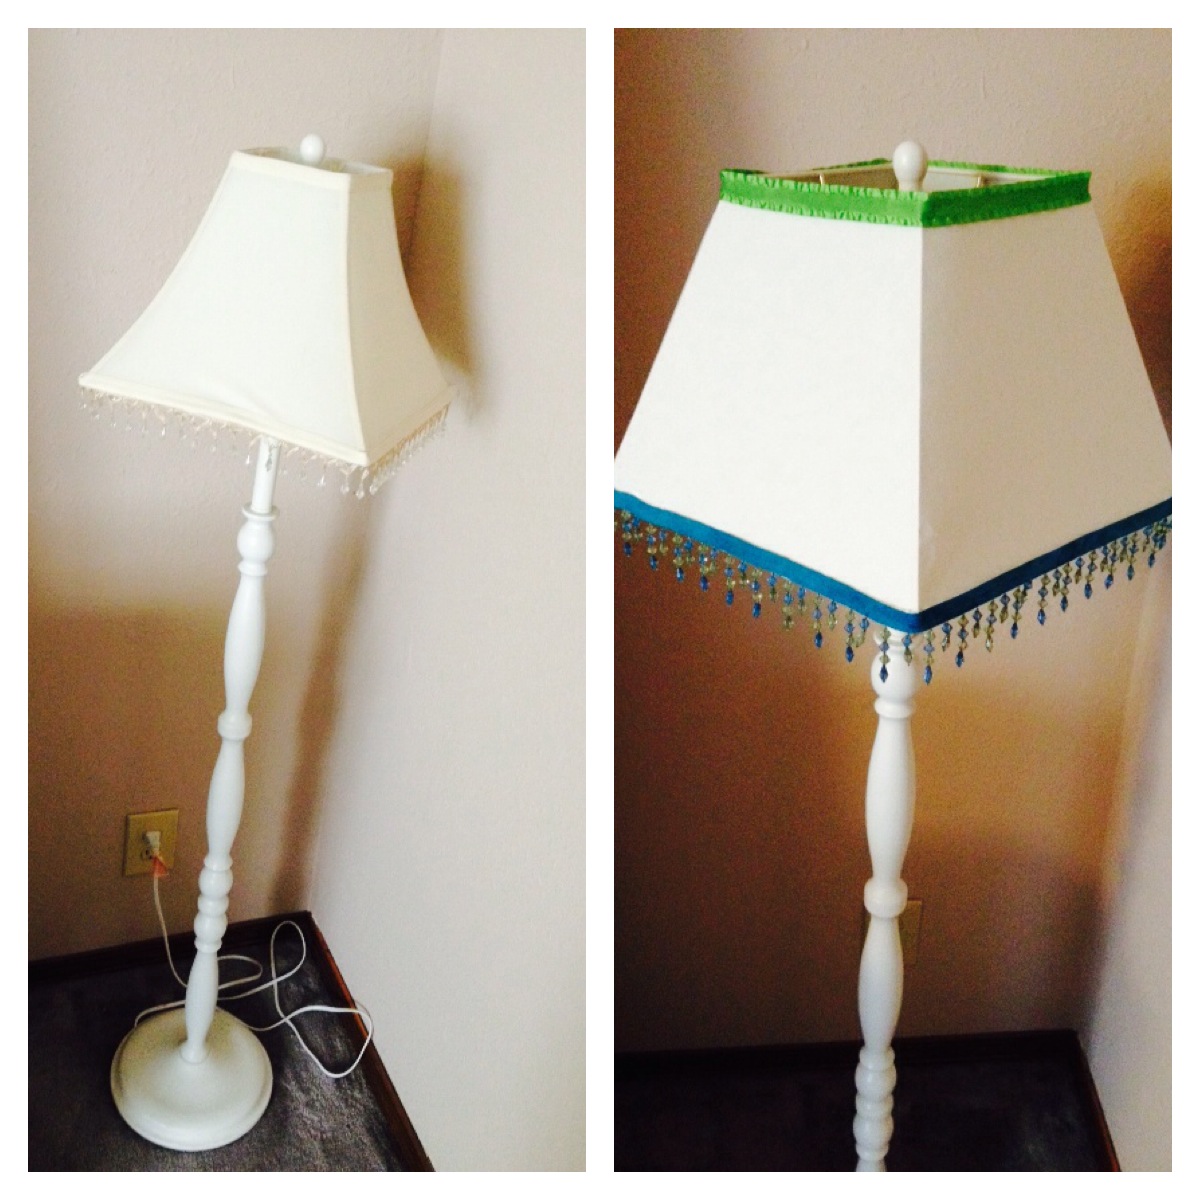
I found a plain white shade, which would brighten up the lamp (and make it all white) all by itself. It was a little bigger and a nice square shape.

New Lamp Shade
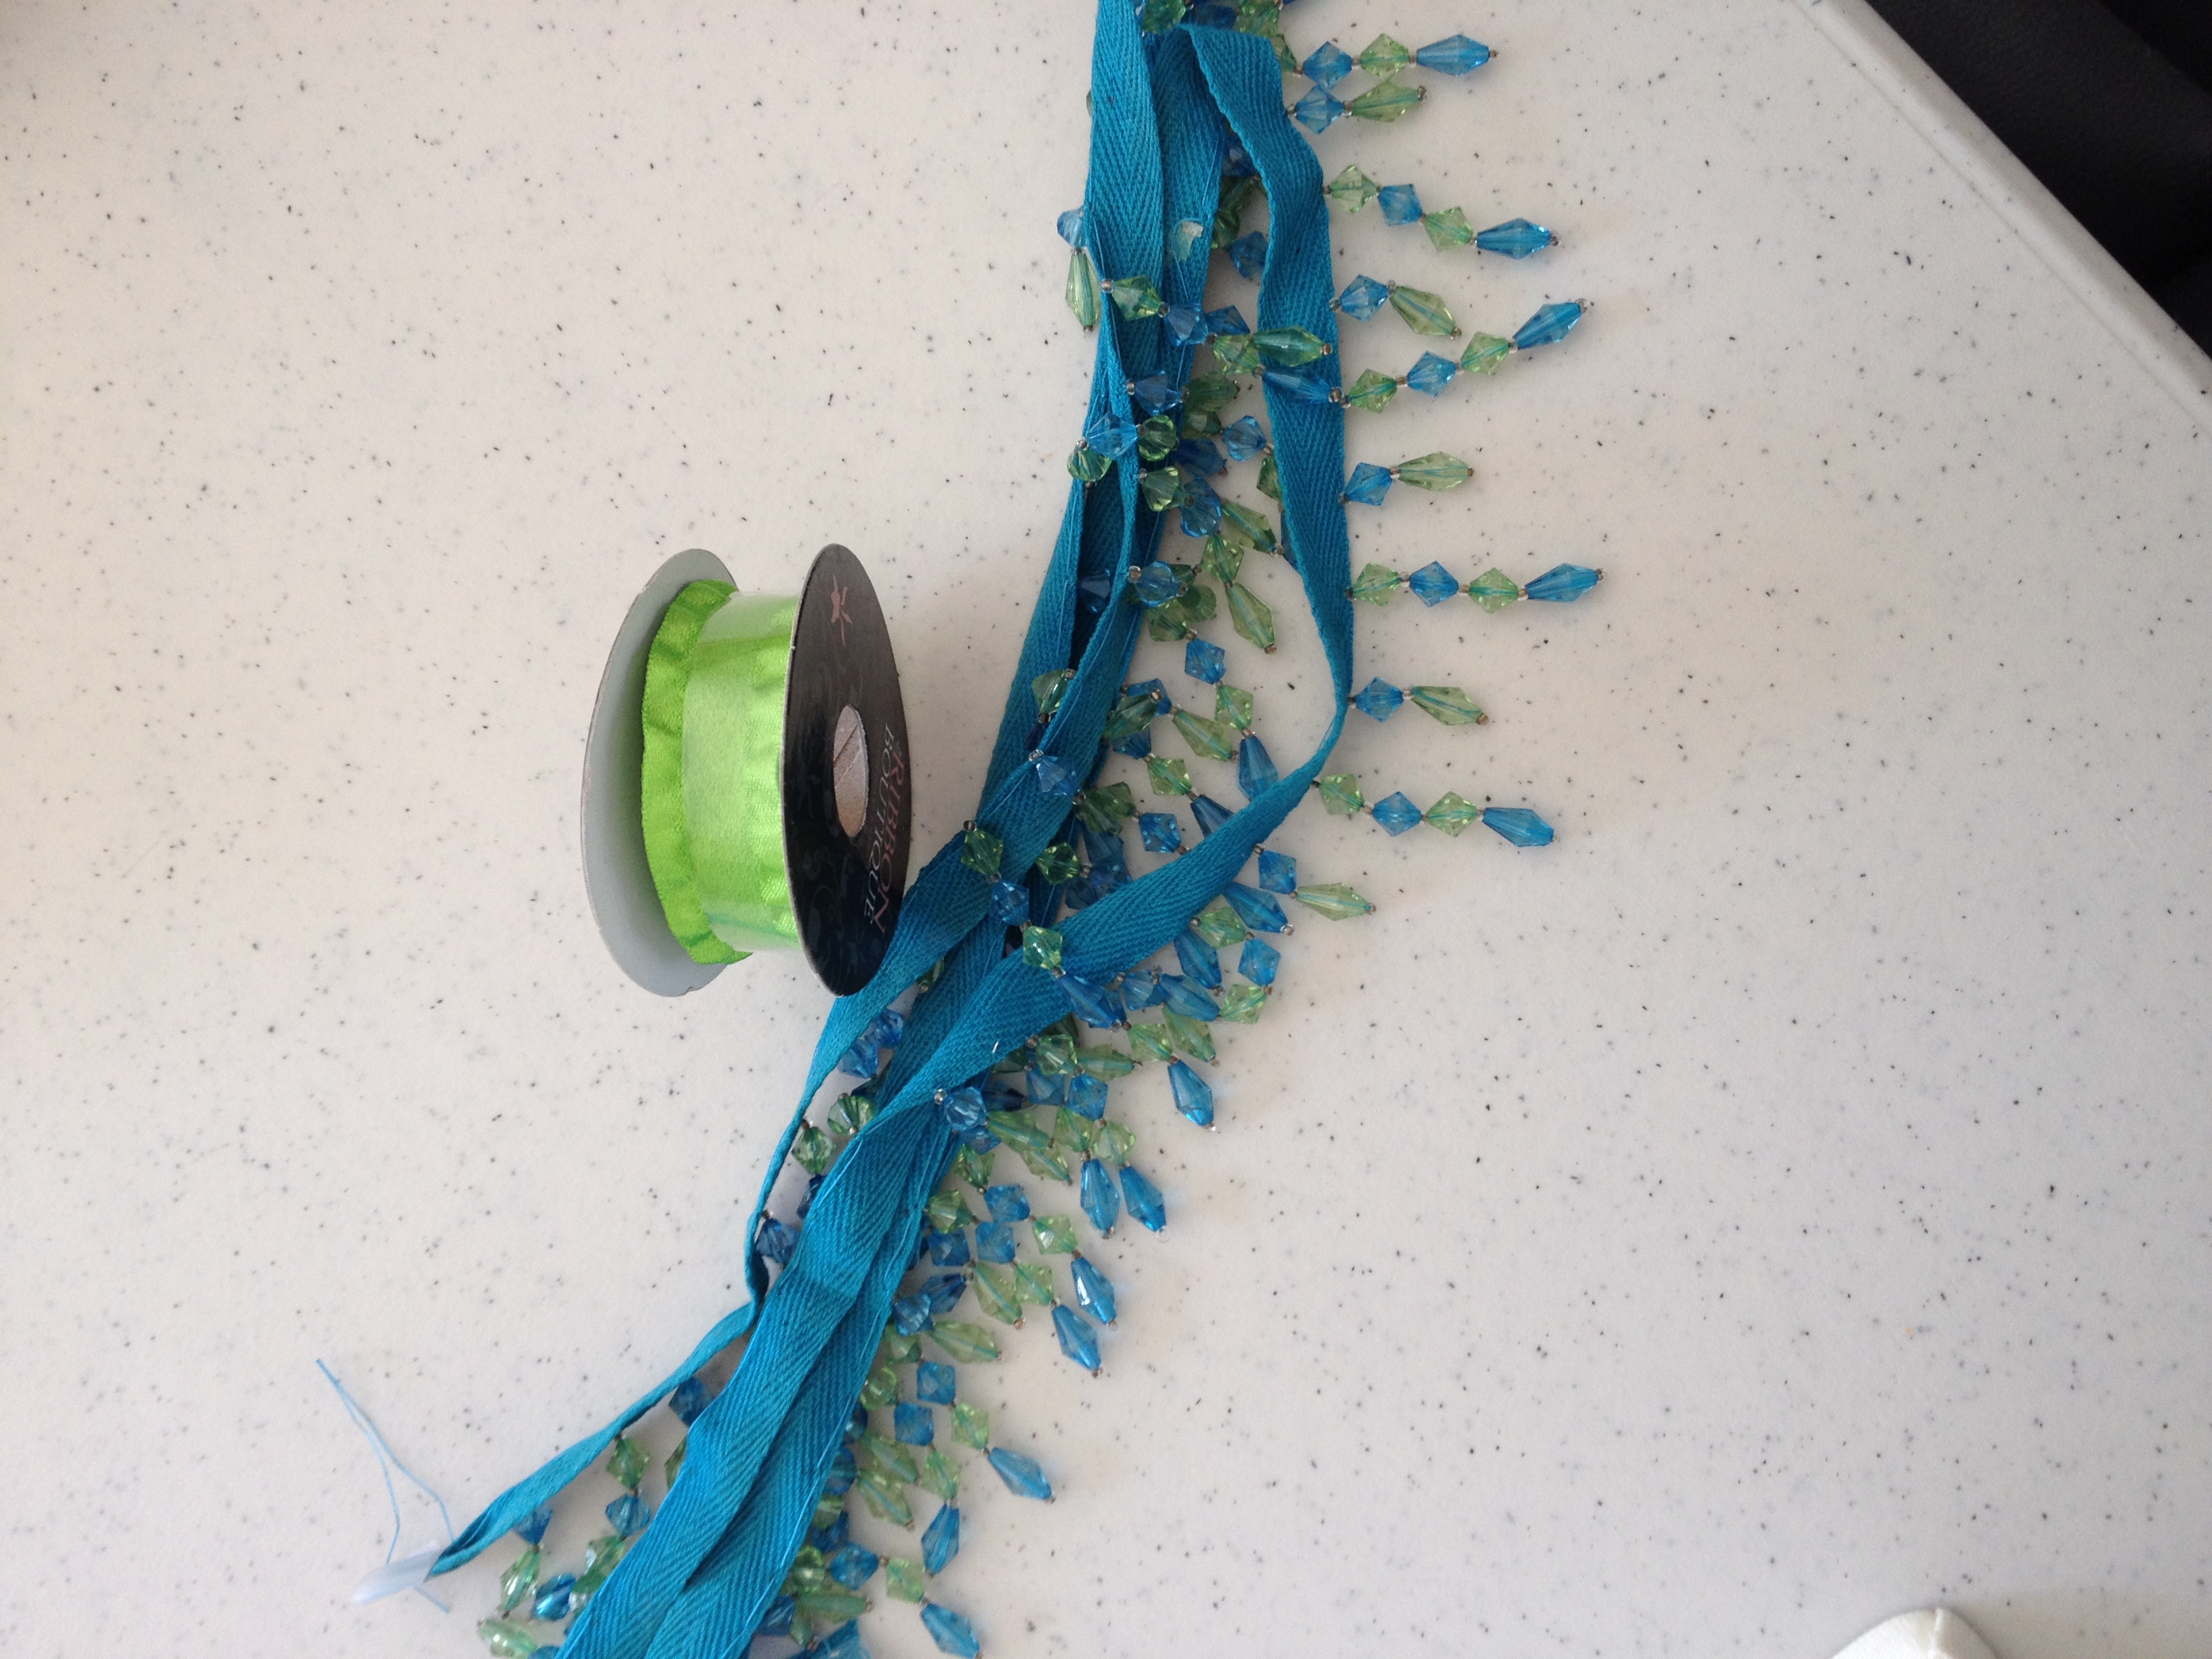
And I got some green ruffle ribbon and blue and green bead trim.

TrimI attached these to the lamp shade with Liquid Stitch which is pretty close to Elmer’s Glue. It was super easy to cut and paste my little project and when it was done, look at the happy difference!

Redone Lamp

I can’t tell you how much I LOVE the way it turned out! It’s going to be a great part of the total look in the room.

Here’s the before and after for you. 🙂

Before After

Happy, eh? 🙂

Ugly, Uglier and Extra Ugly

So we’re living in a corporate apartment here in Little Rock and they furnished the apartment for us. The lamps that were brought in are, in a word, extra ugly.

Okay, two words, but they really are extra ugly. And they are not color coordinated. With my personal motto being “color coordination is everything” the lamps could not be allowed to remain.

I spent so much money just outfitting the kitchen with glasses, pans, dishes, etc. that I balked when I saw the price for new lamps. Do you know they don’t sell them all together? You buy the lamp base and then the shade separately.

I guess it’s been a long time since I’ve bought a lamp.

Anyway, I decided I was going to check out the Goodwill. I had seen a big store when we were out to dinner one night.

I found two lamps.

Ugly

and

Uglier

For some reason the gal who checked me out told me she was going to give me 85% off of Uglier. I felt kinda bad for him but who am I to argue with an 85% discount? Besides, I was going to make him gorgeous.

So I paid $6.50 for my two lamps.

Then I headed to Hobby Lobby and got some paint and Wal-Mart to get lampshades and the hardware to attach them to the lamp.

I started painting Uglier and look!

He looked like a gorgeous chocolate fountain. Yummy! 🙂

Once he was dry, he still looked gorgeous but not so much like a chocolate fountain. Doesn’t he look great by our bed?

Next I had to paint Ugly. He was going to remain in the living room with the black and tan furniture. I’ll never understand why they put a green lamp in here.

Anyway, I think he turned out beautiful, too.

Now our house is color coordinated and we can sleep nights. Ahhhhh. 🙂

Baby shower!

I had so much fun preparing for Aniston’s baby shower! Nikki asked me if I could design the invitation first and then the thank you cards. Her sister and mom had decided on a pale pink and leopard theme so I went with it.

I love the way both items turned out!

I asked if there was anything I could bring and Nikki said I could bring anything. Her family knows me well enough to know that I major in sweet treats.  It was really fun to scour Pinterest and the Internet to come up with ideas for what to make.

In the end, I decided on chocolate and pink popcorn

Pink chocolate covered Oreos

Pretzel snacks

(Super easy and delicious! Place pretzels on waxed paper line baking pan, top with Hershey kisses, place in 170 degree oven for 6 minutes, push M&Ms into the tops.)

Candy skewers

Cookies that I painted and bagged with matching thank you notes attached for people to take home

and strawberry cream cheese jelly bellies.

I also labeled water bottles to go along with the theme.

Of course it was overkill but I haven’t figured out how to make “just enough”. I didn’t want anyone who was there not to get something because there wasn’t enough.

They brought a cute cake!

There were lots of presents.

Lyndzee came.

bringing the chair she re-covered for Nikki.

It was great and I really loved watching Nikki’s face when she opened the gifts I had made for Aniston.

The Chucks

and the little Rott-I-Tude outfit.

I made a wall hanging for her bedroom, too, but I need to get a photo of it when it’s hanging on the wall in her nursery for full effect. 🙂

Lyndzee brought me my Christmas present she made for me which I adore!

I’m so excited to be Glammie. 🙂

Bling my Chucks

I’m not sure whether it took knowing that I was going to be a grandma to a little girl or having a couple of successful Pinterest projects under my belt to find out I kinda like this craft thing. The two things happened about the same time.

I couldn’t be happier with the way this latest project turned out.

I was cruising Pinterest, and I stopped at Nikki’s board for Aniston Lee. I saw some embellished Chuck Taylor shoes for a little girl. I thought, “I can do that!”

I was wandering through Gordman’s trying to kill time and I found a pair of pink Chuck Taylor crib shoes.

I bought them. Then I got the rest of the pieces I needed to complete the project.

I started out by applying 5mm AB crystals to the toes.

And to the middle of the star on the side of the shoes.

Then I replaced the laces with ribbon.

I measured the ribbon against the lace but it turned out not to be long enough.

So I cut the ribbon the length of the lace and then half again. This gave me enough room to trim off the edges and make a nice big bow. I finished off by coating the ends of the ribbon with clear nail polish so they won’t fray.

Are these not the CUTEST shoes ever! I can’t wait to see Aniston wear them and to make another pair. 🙂

Coastering

One of the very first things I pinned on Pinterest was this:

I’m not a crafty person but I looked at that and thought, “I can do that!”. And, the beauty of it was, if it didn’t turn out it wasn’t going to be like I wasted a ton of money on it. It was a pretty economical project.

I decided I would make the coasters for the kids for Christmas using Brandon and Vanessa’s wedding logo and the design theme of Nikki and Geoff’s house. I gathered all of the things I needed to make the coasters and then I froze.

I was so afraid of making a mistake. But finally I got my courage up by telling myself that it’s no big deal if I DO make a mistake because they aren’t expecting the coasters and if I mess up, it will be okay.

So I cut the artwork out and started the modge podging. Is that a verb? 🙂

And it looked good!

I got all of the coasters created and put the felt circles on the back.

And then I was stuck. How to package them?

I went back to Hobby Lobby and wandered around looking for something I could put the coasters in. I eventually found these:

I thought all the way home about what I would do to them. I was clueless.

I painted the boxes black.

But that didn’t seem like enough.

I googled decoupage cardboard box and the instructions said that you could use anything to cover a box. Tissue paper, newspaper…ah ha! Newspaper!

Brandon and Vanessa met when they were working at the Tulsa World. So I covered their box with the Tulsa World and modge podge. I love the way it turned out!

For Nikki and Geoff’s box I was a little more stumped and I ended up just painting it with leopard spots.

I then wrapped the coasters in gold (Brandon and Vanessa) and cream (Geoff and Nikki) ribbon and put them in the boxes.

I added black drawer pulls that I attached with shorter screws and voila! I was finished.

I hope the kids like them. I had fun making them and was so happy that my first foray into modge podge without adult supervision turned out so well. 🙂